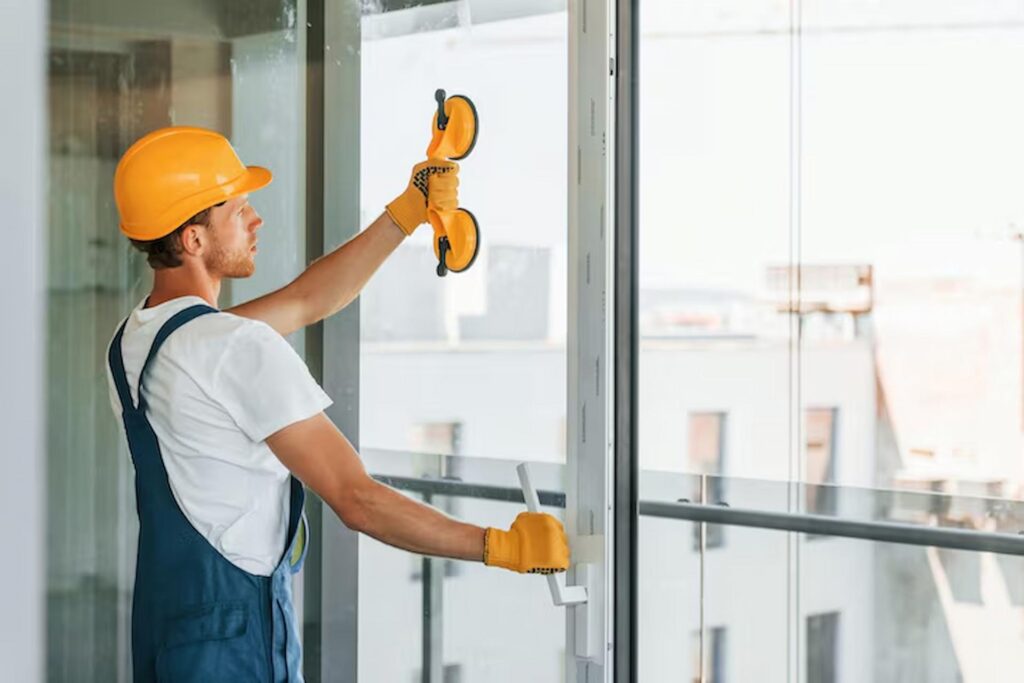
A chipped or cracked windscreen can feel like a minor inconvenience at first, but even the smallest damage can quickly spread, compromise visibility, and weaken the structural strength of your vehicle’s glass. Professional glass repair is designed to restore safety, appearance, and durability without always requiring a full replacement. One of the most effective methods used by specialists is resin injection—a precise process that repairs damage by sealing and reinforcing the affected area. Understanding how this method works helps drivers make informed decisions, save money, and maintain road safety.
When sudden damage occurs, whether from flying debris or an unexpected impact, many motorists seek fast solutions such as emergency glazing to secure the vehicle quickly and prevent further deterioration. While urgent temporary protection may be essential, long-term professional resin repair offers a more permanent solution for chips, bullseyes, star breaks, and minor cracks before they worsen.
What Is Resin Injection in Glass Repair?
Resin injection is a specialist repair technique used primarily on laminated automotive glass, particularly windscreens. The process involves injecting a clear, high-strength resin into the damaged section of glass, filling the crack or chip, and then curing it with ultraviolet light. Once hardened, the resin bonds with the glass structure, restoring strength and improving clarity.
Why Resin Injection Is Preferred
This process is widely recommended because it:
- Prevents cracks from spreading
- Restores up to 90% of optical clarity
- Strengthens the damaged area
- Costs significantly less than full glass replacement
- Reduces environmental waste
Because modern vehicle windscreens often contribute to roof support and airbag deployment, professional repairs must meet strict safety standards.
Step 1: Damage Assessment and Inspection
Before any repair begins, a trained technician carefully inspects the damage. Not all cracks are repairable. Factors such as crack length, depth, location, and contamination determine whether resin injection is suitable.
Technicians Typically Check:
- Size of the chip (usually under 40mm is repairable)
- Position in the driver’s line of sight
- Depth of impact
- Moisture or dirt trapped inside
- Whether the inner glass layer is compromised
If damage is too extensive, replacement may be safer than repair.
Step 2: Cleaning the Damaged Area
For successful resin bonding, the damaged section must be thoroughly cleaned. Any dirt, moisture, or microscopic debris can interfere with adhesion.
Specialists use professional-grade tools to:
- Remove loose glass fragments
- Extract trapped air
- Dry internal moisture
- Prepare a clean cavity
This stage is critical because contaminants can weaken the repair or leave visible imperfections. In cases where immediate protection is required after breakage, emergency glazing services may first stabilise the pane before detailed restoration work begins.
Step 3: Setting Up the Injection Bridge
Precision Equipment Matters
A resin injector tool, often called a bridge or repair apparatus, is mounted directly over the damaged area. This device creates a sealed chamber and controls pressure accurately.
The technician alternates between vacuum and pressure cycles to:
- Remove air from the crack
- Allow resin to penetrate deeply
- Ensure complete filling of microscopic fractures
This precision is what separates professional repair from DIY kits, which often fail to restore full strength.
Step 4: Injecting the Resin
Once the air is removed, specialised transparent resin is injected into the damaged section.
Types of Resin Used
Different resin viscosities may be selected depending on crack type:
- Thin resin for hairline cracks
- Medium resin for star breaks
- Thick resin for larger chips
The resin flows through the break, bonding the glass layers and restoring structural integrity. Professionals monitor this carefully to avoid trapped bubbles or incomplete coverage.
Benefits of Professional Resin Quality
High-grade repair resin offers:
- UV resistance
- Optical transparency
- Long-lasting strength
- Weather durability
- Resistance to vibration and temperature shifts
Step 5: Curing with Ultraviolet Light
After injection, ultraviolet curing lamps harden the resin. This stage transforms the liquid into a solid, clear material integrated with the windscreen.
Why UV Curing Is Essential
UV curing:
- Solidifies the resin rapidly
- Locks the repair permanently
- Prevents future expansion
- Creates a smooth finish
This process usually takes only a few minutes but must be carefully timed to ensure maximum effectiveness.
Step 6: Surface Finishing and Polishing
Once cured, excess resin is removed using specialised blades. The technician polishes the repaired area to smooth out the surface and improve visibility.
Final Finishing Includes:
- Levelling excess resin
- Polishing for clarity
- Checking for distortion
- Safety inspection
Although some minor marks may remain visible depending on the original damage, the repair should significantly improve both appearance and safety.
Common Types of Glass Damage Suitable for Resin Repair
Not every form of damage is identical. Resin injection works best for:
- Bullseye chips
- Star breaks
- Combination breaks
- Small edge cracks
- Stone impact chips
Damage Usually Requiring Replacement
- Cracks longer than a credit card
- Multiple impact points
- Severe edge damage
- Penetration through both layers
- Advanced contamination
Why Timing Matters in Glass Repair
Delaying repairs can turn a simple chip into a major crack. Changes in temperature, road vibration, and moisture can rapidly worsen damage.
Immediate repair helps:
- Preserve original factory seals
- Avoid replacement costs
- Maintain vehicle safety standards
- Protect resale value
- Reduce MOT-related issues
Prompt action is particularly important in the UK’s variable climate, where rain and frost can accelerate deterioration.
Choosing a Qualified Glass Repair Specialist
Not all services offer the same expertise. Selecting a certified technician ensures the process meets industry standards.
Look For:
- Automotive glass certification
- Insurance approval
- Advanced repair equipment
- Warranty on repairs
- Positive customer reviews
A reputable specialist will always advise honestly whether repair or replacement is the safer option.
The Environmental Advantage of Repair Over Replacement
Repairing rather than replacing damaged glass has sustainability benefits. Windscreen production requires significant energy and raw materials, so extending the life of existing glass reduces landfill waste and carbon emissions.
Eco-Friendly Advantages Include:
- Less glass waste
- Reduced manufacturing demand
- Lower transport emissions
- Fewer chemical resources used
For environmentally conscious drivers, professional repair is often the greener choice.
Conclusion
Professional resin injection is a carefully engineered process that restores damaged glass safely, efficiently, and affordably. From assessment and cleaning to injection and UV curing, each stage plays a vital role in preserving strength and visibility. Acting quickly after damage appears can prevent larger issues, save money, and support safer driving. By understanding how specialists repair glass, vehicle owners can make confident choices that protect both their safety and their investment while benefiting from expert craftsmanship.